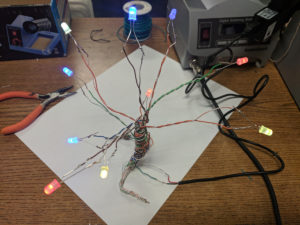
Do you love feeling the glow of wintertime? Make an LED tree! This year we offered several classes on this fun easy project for older kids and adults. Here’s how you can make your own light up tree at home.
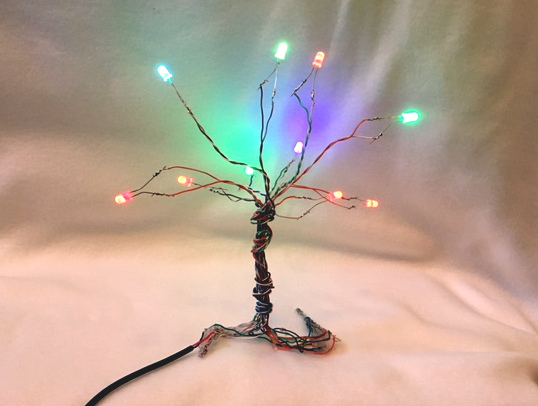
LED Tree
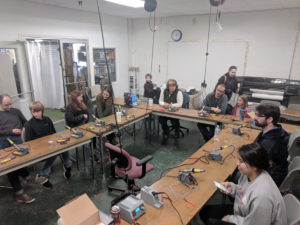
LED Tree Class at MakeICT
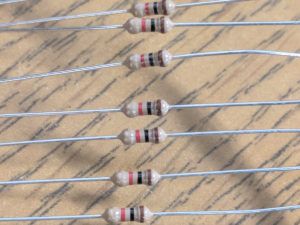
1K Resistors
You will need:
- Soldering iron & solder
- Wire – we used twisted pair to distinguish power and ground sides
- 1K resistors
- USB power adapter
- 5MM LEDs (Light Emitting Diodes) – we used color changing LEDs for a fun effect. There are lots of places to find these: amazon, ebay, mouser. Sources will change, just make sure they have only two leads (wires). There are multi-color LEDs with multiple leads to set the color based on what you hook to, but we wanted ours to fade between colors on their own.
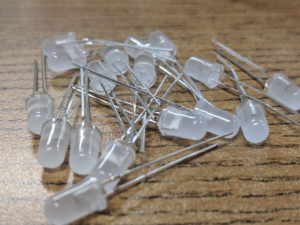
Color changing LEDs
Steps:
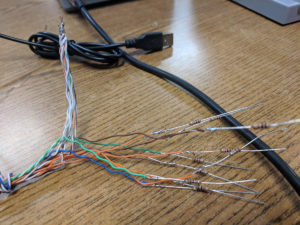
1) Solder 12″ of wire to each LED. We used the solid strand for the power side of the LED (longer lead) and the striped side for the ground side (shorter lead next to the flat end of the LED enclosure). It doesn’t really matter which one you use for which side, as long as you use the same scheme for each LED.
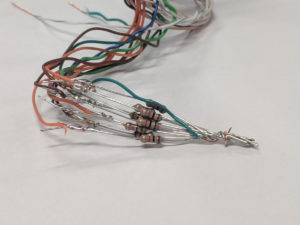
2) At the other end of each power wire, solder a 1K resistor. Resistors don’t have polarity, meaning you can solder it either way onto the wire, there’s no “backwards” when it comes to resistors.
3) Solder the resistors together at a junction for the power wire.
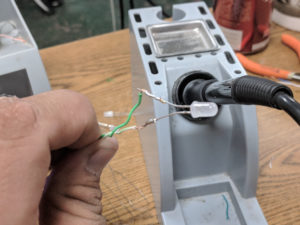
5) Solder the USB power wire onto the resistors and the ground wire onto the ends of the striped wires. The power (Vcc) USB provides 5V to the LED bank.
6) Here is a diagram of connections for reference, with dots at each solder point.

To make strong solder connections:
- Heat up your wire with the solder iron
- Touch solder to the wire, it should melt and wick on
After it’s cool use hot glue to insulate between the wires and strengthen your tree.