What to do when you break something
We’ve had a few members approach leaders at the makerspace lately to say, “I just broke a machine! What should I do!?” This topic is covered in safety classes but we wanted to reiterate some best practices.
Here are some things you should NOT do:
- Have no idea what to do
- Leave without doing anything
- Blank stare for extended period of time
Here are some things you SHOULD do:
- Turn it off.
- Unplug it.
- Gather information. Examine the situation as best you can. What’s damaged? Will new parts be required?
- Notify the area lead via email. Use this page for contact information or just remember the popular emails –
metalshop@makeict.org for all woodshop operations
woodshop@makeict.org for all woodshop operations
fablab@makeict.org for 3D printers, laser cutter, other fablab
info@makeict.org if in doubt this is the fastest way to inform lots of us and we will forward to the right place - Make a big obvious sign with your name, your contact information, the date, what’s broken. Tape it to the machine in a place that’s obvious to see, like right over the power switch.
- Use the lockout/tagout equipment if the machine is unsafe to use.
Be sure to review area policies around maintenance practices before attempting to repair any damage yourself.
If you made a mistake that caused damage we’d appreciate it if you’d pitch in on the repair costs, but this isn’t required, we understand that not everyone is in a financial position to pay for repairs. MakeICT has an equipment repair budget. We don’t want anyone to be afraid to report damage. Tell us what happened!
And finally, always remember that safety classes are free for members. If it’s been a year or two since you got an authorization, it might be time for a refresher. You can ask more questions based on your experiences and gain confidence that you’re using the equipment safely.
July News
|
||
|

NOMCON 2018
This post was contributed by LaDeana Dockery
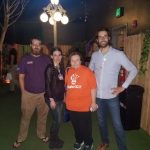
We met a lot of great people and had a lot of fun going to the 2018 Nation of Makers Conference (NOMCON).
Most of us (David, Malissa, Logan and myself) set out Friday morning… well Thursday night really. It is 2:30am when the train leaves Newton, Kansas heading West. If you have never taken the train, you should at least take one trip. We watched the scenery from Western Kansas, Colorado and New Mexico fly by from the Observation car as we anticipated the conference. When we made our final stop late in the afternoon at Lamy, NM, we realize we had landed in a place way smaller than Newton. The “bus trip” from Lamy to Santa Fe was guy driving a hotel van with just the four of us and the other two people who got off the train in Lamy. No one had cell service until we were within a few minutes of Santa Fe.
Sam picked us up in his rental car at the dropoff location in Santa Fe and we made our way up to our AirBnB rental. This is the first time I have done AirBnB and it was quite interesting. We stayed at an “Artists’ Hidaway”. It was open and airy and definitely full on New Age. After taking in a local meal, we all retired back to the BnB except for David who wasn’t feeling well and got a hotel room.
The next morning we made our way to the conference. After a morning conference opener that was mostly thanking everyone, we got down to business. We tried to choose separate sessions to try and and gain the most from the conference. My first session was titled the Five Stages of Grant Writing. As I went into the room, I realized that this conference was not going to be like the ones I had attended for work. There were grouped tables and rather than listening to a single speaker, we talked a little bit about who had Grant Writing experience and who didn’t and what people thought was important. Someone took notes that we all could share (which was good, as the conference center had spotty WiFi which we quickly overwhelmed.)
The next session I had was the one I was to lead: “Moving a Makerspace”. My session went pretty much like the first as we networked and talked about who was moving their makerspace and who already had. One of the fellows took some notes. I promised to take the notes and what we learned when we moved to make a book for all the makers about “Moving a Makerspace”.
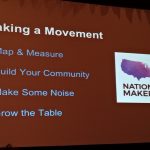
There were a couple more sessions that afternoon that went much the same way. I realized the conference was more about networking than anything else and set about making conversations with many of the different makerspaces. We have some differences, but many of the community makerspaces have problems and joys that parallel our own.
David mentioned he was going back home early as he really did not feel well. That evening we went to one of the social events and met more folks from various makerspaces.
The next day heralded a much better crop of general speakers, The theme of the conference was Intentional Inclusion and a very dynamic speaker told of her struggle to find shoes that worked well with her disability. A speaker came to speak to us in spite of having major dental surgery issues. We had a speaker talk to us about making special costumes for kids in wheel chairs. ( You are not supposed to cry at a conference… but these were powerfully moving speeches.) We should totally try to do the costumes for wheelchairs…
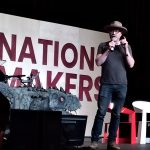
Finally Adam Savage got up to speak and I thought it will be hard to follow the wheelchair folks. He held his own, but barely. And then the rest of the day to network with other spaces.
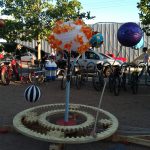
We had more fun before we left. Meow Wolf (the famous art exhibit/mystery story/funhouse) and Itchy-o (a percussion group) and a train trip back.
This is already too long, so see me or one of the gang for details 🙂
Photos from the trip


2018 Annual Meeting Results
Thank you to everyone who attended our annual meeting, we had a great turnout.
Minutes for the annual meeting are here on our wiki.
The election results were announced in our forum:
Q1: Vote to change the board of directors term duration as set by the bylaws.
- Result: Bylaws will not be changed
Q2: Vote to remove Members Rights section of the Standing Rules
- Result: Vote passes to remove Members Rights section
Q3: Vote to amend the guest policy to clarify the use of the space for tutoring.
- Result: Vote passes to add ‘only exception to this is tutoring’ to guest rules.
Board Members:
- President: Kim Burton
- Vice President: LaDeana Dockery
- Treasurer: David Springs
- Secretary: Kez Cook
- Members At large:
- Jeremiah Burian
- Paul Masseberg
- Malissa Long
- James Lancaster
Notes for next year
Our election process hasn’t changed much since we were an organization of 20 members, and this year was a good opportunity to reflect on ways we can improve.
First, the election ballot has always been assembled by current secretary with assistance when needed from other board of directors members. We’d like to ensure next year that the ballot can be assembled by people who are not running for board of directors positions, to ensure impartiality.
Second, we used ranked preference voting for the second year in a row. Last year we announced and discussed which voting system to use, but this year raised new questions about exactly how to score the ranked preference votes and why we don’t use a one person one vote system similar to our US election system. To address these questions we’ll be holding an election town hall meeting on Monday, July 16 at 7pm in the showroom area. Everyone is encouraged to attend.
With respect to the annual meeting itself, we have a thread about logistics where we’d love to hear suggestions for how to improve this important event.
Makerspace Safety Month
I’d like to thank everyone who participated in our safety month activities, either in the forums or at our quarterly member meeting on March 24. The rule to “Make Safely” is a huge one at MakeICT and we had a lot of great discussion about what we can do to keep improving.
With our Safety Month drawing to a close, here is this list of 10 things I’d like all of you members to know about.
Extension cords – We’re going to be installing more outlets to reduce our dependance on extension cords. Extension cords are for temporary use only, not a permanent way to power frequently used equipment. If you’d like to help out or learn to install outlets, contact info@makeict.org
Fire extinguishers – We’ve had all our fire extinguishers inspected and serviced as required. This is an annual task that we’d let go a bit but now we are all up to date. Make sure you know the location of all fire extinguishers. Walk around the space and look for them near light switches.
Signage – We’re going to be adding more signs all around the space for emergency exits and escape routes.
Hazardous fumes – Many area access policies are in review right now, so we’re going to add policies that forbids the use of spray paints and finishes. If you’re using a chemical with noticeable fumes please move outside.
Children – Kids have always been welcome at our makerspace as long as they’re directly supervised by an adult member. The ages for areas have all been different so we are going to level-set our age limits in the policies to help members keep track. Here’s what we’re working towards: kids under 12 can only enter an area with tools if the area lead has granted special permission. Kids 12-16 can use equipment they’re authorized for if supervised by a parent who is an authorized member. Any member over 16 can apply for their own key.
Trip hazards – need to be removed from hallways and aisles. If you’re not sure where to move something, ask a lead.
First aid kits – Make sure you know the location of first aid kits, and notify safety@makeict.org if you use anything out of a kit.
Pest control – Don’t throw away food trash in a trash can without a lid. We’ve had issues with mice in the past and they can lead to serious health issues. Throw away food trash in the outside dumpster or black lidded trash can in the break area.
Muscle Strains – Don’t try to lift heavy objects by yourself. Get a dolly or ask another member to help lift things that are too heavy.
Education – Don’t use tools you’re not comfortable with. If you’re new or it’s been a while since you used a tool or area, feel free to check the calendar and re-take the safety class. Many instructors will let former students sit in for free if they’ve already taken the class and just need a refresher.
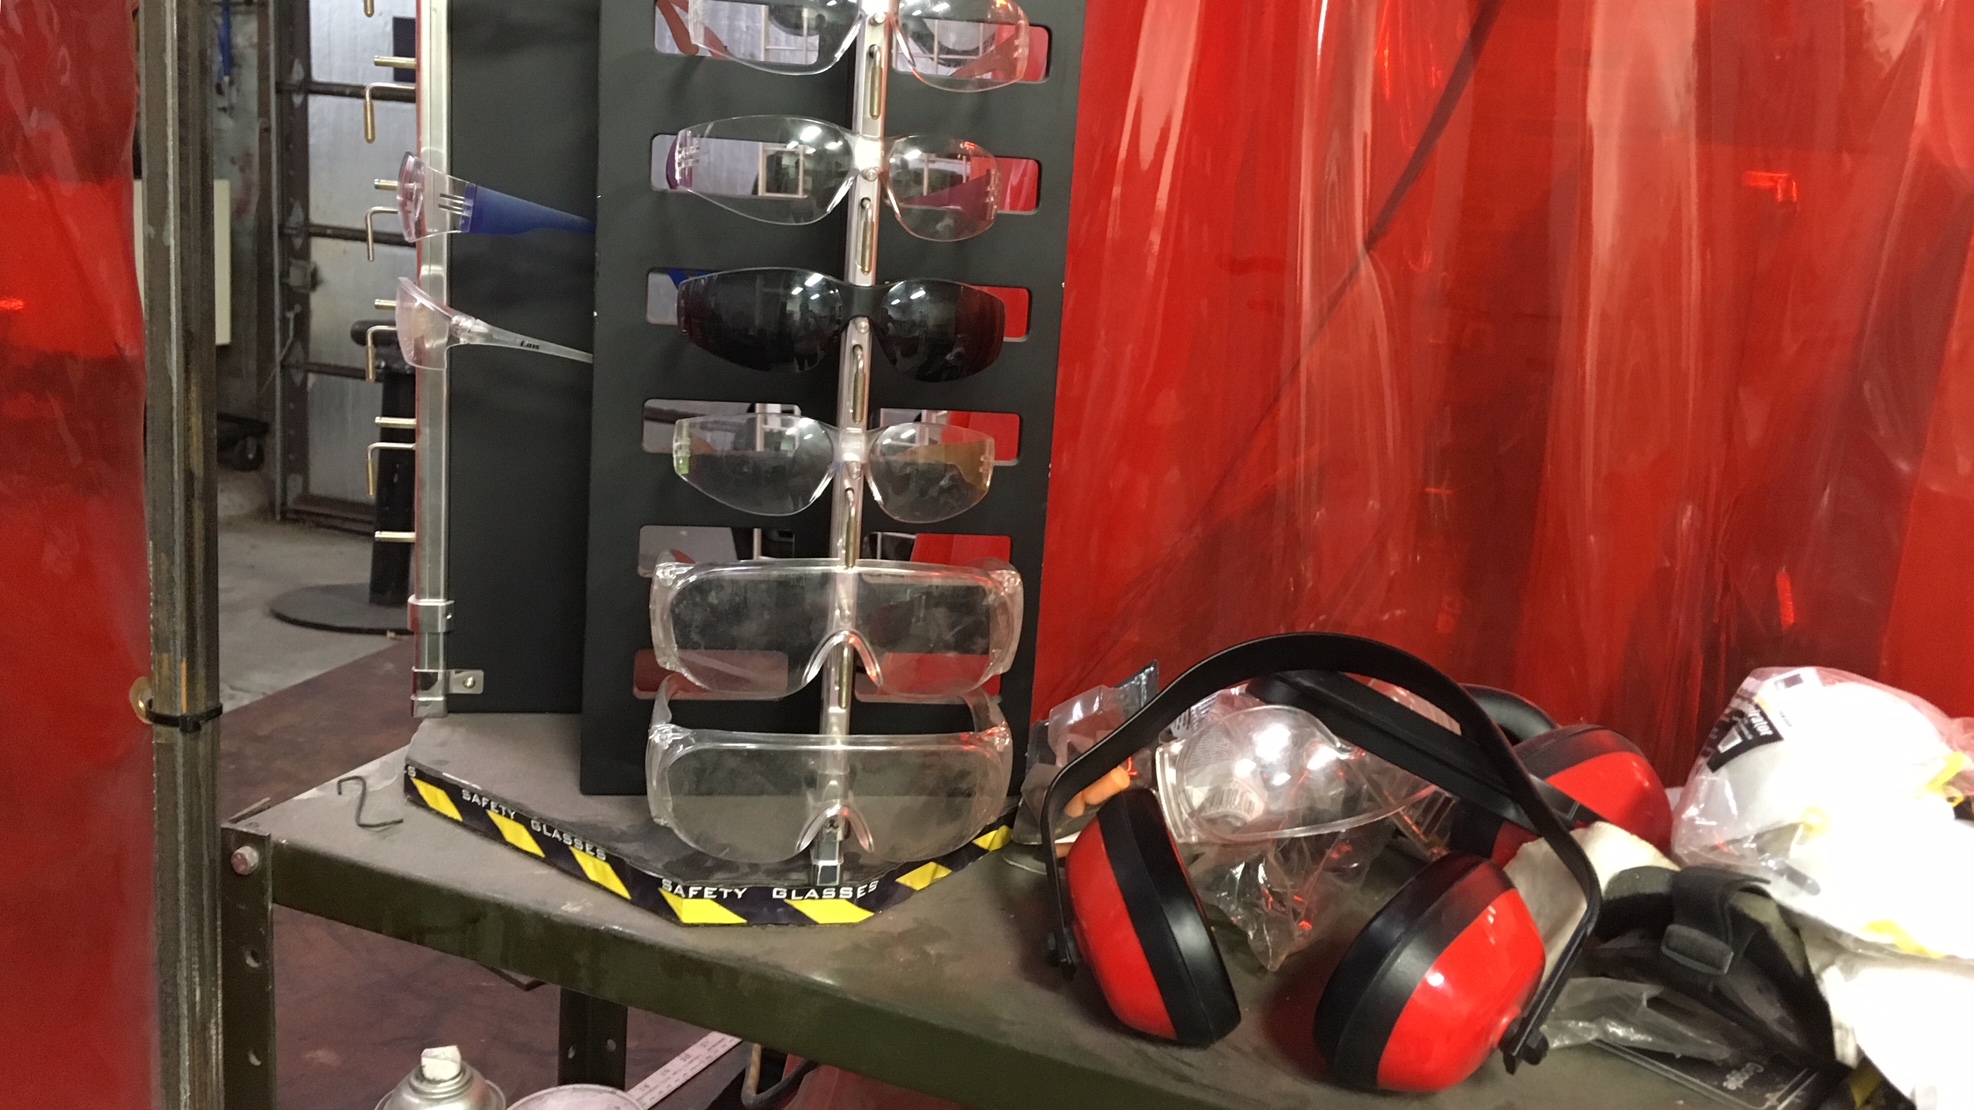
Safety is every member’s responsibility. When I tell people about MakeICT, I always try to make sure they know that we’re a collaborative shared makerspace, so anyone can come up to anyone if they see a better, safer way to work. Don’t be afraid to bring someone a pair of safety glasses if you’re worried they might forget. Don’t be afraid to ask an unattended guest of any age who’s supposed to be supervising them. You don’t have to be the president to make our space safer. If you feel like a fellow member is ignoring you, that’s when you can pull in a leader.
If you have concerns or want to bring up another issue, please contact our safety lead Mike Barushok either at the space or via email to safety@makeict.org.
MakeICT Classes in 2017
One of the best things about MakeICT is our classes, and in 2017 we taught a LOT of them! Here are some numbers that we are truly proud of…

We taught 93 different types of classes last year! Some of our classes were basic tool instruction and some were project based. We made stepstools, aprons, wood lathe bowls, wichita flag shirts, drawer organizers, scarves, and whatever else came to our minds.
Our total enrollment for all classes: 1,682
We taught most of our classes several times, for a total of 261 sessions. That’s about five classes a week.
We learned from 32 different instructors during 2017. The most active instructor was our metalshop lead Jeremiah Burian who taught 64 times. Not all of our instructors are that active of course – most taught less than once a week and 15 people taught only 1-3 times. Instructing at MakeICT is a great activity to try out, whether you want to teach once a week or once a quarter we’d love to host your class! Instructors set their own fees and take home 75% of the revenue. To contact us about teaching, fill out our teach a class form. You don’t have to be a world-renowned expert, you just have to have some knowledge you’re willing to share with the world.
633 different people took our classes. 57% were members of MakeICT – so we taught a lot of classes to non-members and guests just visiting. Nearly all of our classes are open to the public with discounts for members. We welcome anyone. About half of the people who enrolled took just one class with us. 22 people took ten or more classes.
Our most popular classes:
– Woodshop safety: 222 students
– Metalshop safety: 193
– Laser cutting basics: 116
– CNC plasma cutter: 67
– CNC/Shopbot Using Easel: 66
– MIG Welding: 66
– Tig Welding: 52
– Screen printing: 51
– Build a Step Stool: 37
– Introduction to 3D printing: 33
Our most expensive class was $60. Free enrollment available to members was used 546 times. Considering both members and non-members, the average person attending a MakeICT class paid $12.34. As a non-profit community organization here for Wichita, we are incredibly proud of our low cost class structure that increases access to the world of making.
Thank you Wichita for taking MakeICT classes to improve your skills and explore new ways to make! If there’s a class you’d like to take, visit our calendar to enroll. If you don’t see the class you want or it doesn’t fit your schedule, fill out our request a class form and we’ll send it on to instructors planning future sessions.
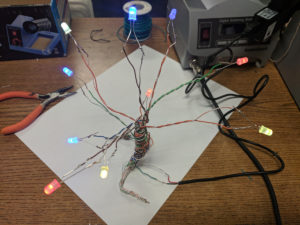
DIY LED Trees
Do you love feeling the glow of wintertime? Make an LED tree! This year we offered several classes on this fun easy project for older kids and adults. Here’s how you can make your own light up tree at home.
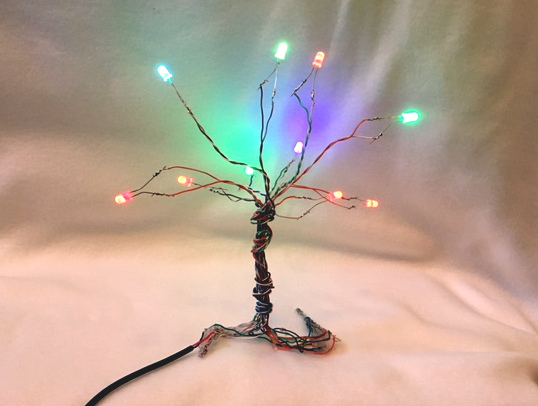
LED Tree
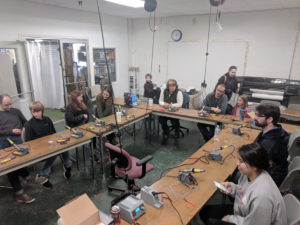
LED Tree Class at MakeICT
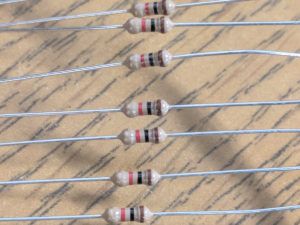
1K Resistors
You will need:
- Soldering iron & solder
- Wire – we used twisted pair to distinguish power and ground sides
- 1K resistors
- USB power adapter
- 5MM LEDs (Light Emitting Diodes) – we used color changing LEDs for a fun effect. There are lots of places to find these: amazon, ebay, mouser. Sources will change, just make sure they have only two leads (wires). There are multi-color LEDs with multiple leads to set the color based on what you hook to, but we wanted ours to fade between colors on their own.
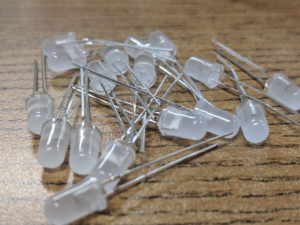
Color changing LEDs
Steps:
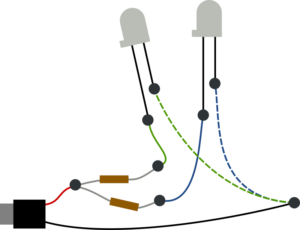
1) Solder 12″ of wire to each LED. We used the solid strand for the power side of the LED (longer lead) and the striped side for the ground side (shorter lead next to the flat end of the LED enclosure). It doesn’t really matter which one you use for which side, as long as you use the same scheme for each LED.
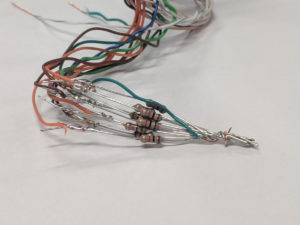
2) At the other end of each power wire, solder a 1K resistor. Resistors don’t have polarity, meaning you can solder it either way onto the wire, there’s no “backwards” when it comes to resistors.
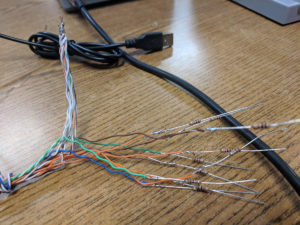
3) Solder the resistors together at a junction for the power wire.
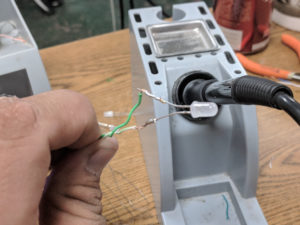
5) Solder the USB power wire onto the resistors and the ground wire onto the ends of the striped wires. The power (Vcc) USB provides 5V to the LED bank.
6) Here is a diagram of connections for reference, with dots at each solder point.
To make strong solder connections:
- Heat up your wire with the solder iron
- Touch solder to the wire, it should melt and wick on
After it’s cool use hot glue to insulate between the wires and strengthen your tree.
Laser Cutter Software Upgrade
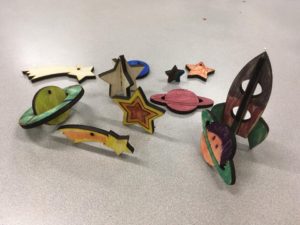
Space ornaments made with our laser cutter
If you’re an authorized laser cutter user you do not need to re-take the authorization class. The fundamentals of laser cutting haven’t changed – you need to know about graphic design, material usage, and fire safety. You can re-take the class if you want. I tell everyone who takes laser cutting basics that they can sit in the back of future classes for free, forever. But you can also just review the Wiki Page. The “Workflow” section has a brief outline of each step, and also contains a link to a presentation with step-by-step screenshots. The screenshots have been printed off and are stored in a 3-ring binder next to the laser cutter computer.
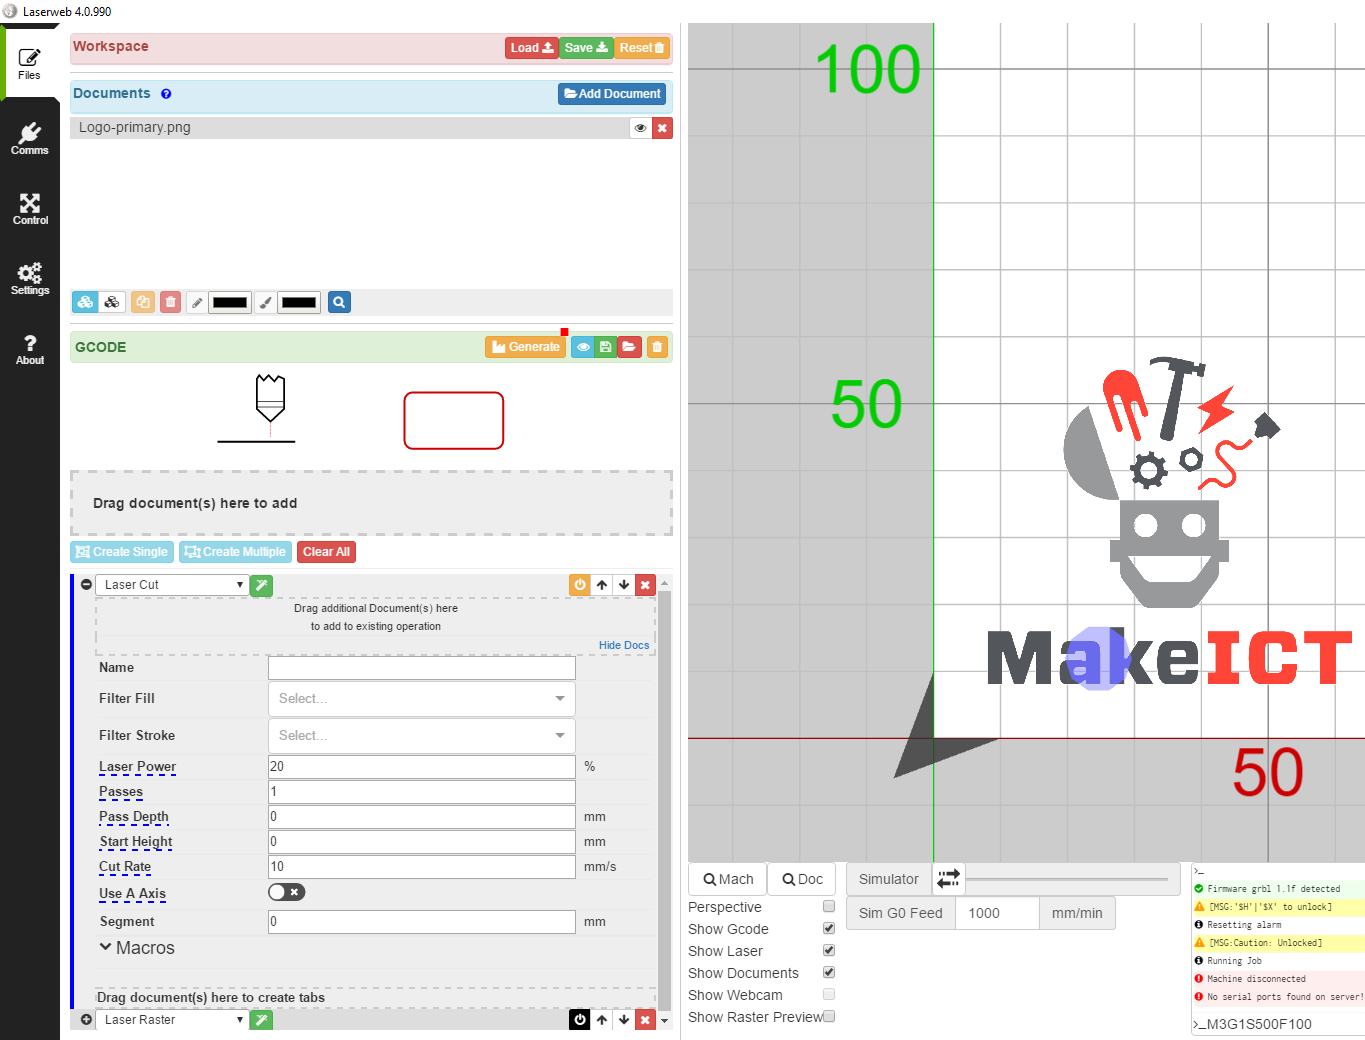
LaserWeb version 4
A few key changes to note:
- LaserWeb accepts *.png, *.jpg, *.jpeg, *.bmp, *.gcode, *.g, *.svg, *.dxf, *.tap, *.gc, & *.nc. There is no longer a need to convert your vector files to DXF, and your SVG files can have raster files embedded for engraving.
- We can now do 3D engraving – a range of power settings depending on darkness of the image.
- Power settings have changed. Try a lower power than what you’re used to. Power can now be set down to 1%. We’ve found that 6mm sanded plywood cuts at 30% power, speed 15mm/s.
One other new thing this month: we’ve added a reservation calendar to help schedule times to use the laser cutter. You don’t have to have a reservation to use it, but this makes it much easier to set aside time, meet friends to collaborate, or just know that you can make a deadline on a project. Be sure to check the calendar before you start using the laser cutter to make sure you’re not running into anybody’s reservation. If you’re in the MakeICT google group, you can add reservations yourself.
If you’re a new user, or if you just want a refresher, head to http://makeict.org/calendar for the latest class schedule.
Ceramics Gallery Show Highlights
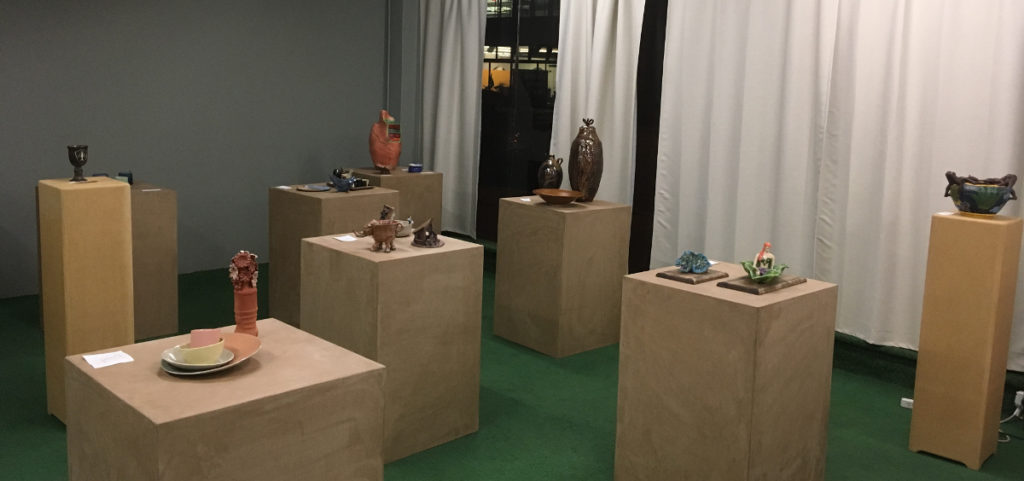
September Gallery Show – Ceramics
-

- Armando Minjarez, Vase
-

- Carder Robinson, Chalice
-

- Fiona Gridley, Bowls and Cups
-
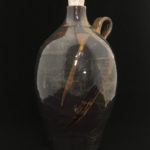
- Frank Martinez, Jug
-
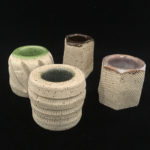
- John Cody, Match Stick Holders
-

- Judy Brees, Bookcase
-

- Kelly Calbert, Fairy: New Adventure
-

- Ruth Peer, Newton Clay Works Gallery, Bird
-
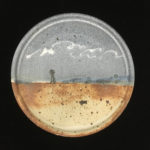
- Ruth Peer, Newton Clay Works Gallery, Kansas Plate
-

- Susan de Wit, Homage to that thing we call a Human Bean
From the Electronics Lab: Our Transistor Tester
At first I was thinking of doing a blog post about the multimeter, but instead I choose this guy the QS2015-T4. Fairly unassuming and in a box that might be marked “transistor tester”. Amongst the arduino and sensors, this clever guy a ATMEGA328P with some neat firmware. On the front is a screen, and a socket and a button that does stuff. Pictured here it’s interrogating the transistor we use in basic electronics. So how do you know which way to put it in the socket? You don’t, and you don’t care.
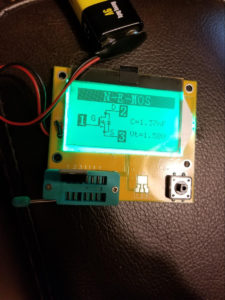
12864 Mega328 ESR
There is a 1, 2, 3 on the board next to the socket . Make sure you have a different pin in a different socket number. See the 1s at the end? All connected together. Check out the screen though. There is a 1 by the G, a 2 by the D, and a 3 by the S. It told us which pins are what. Pop in the part, push the button It figures out the rest technomagically.
Check out where it says C=1.37nF. That’s a capacitance isn’t it? It reads capacitance too. You suspect a cap being bad you can pop it in this bad boy and it will tell you what the capacitance is. I’m not saying it’s NIST traceable, but if you want to make your 555 timer wiggle and need to check that cap? This do that. Resistors, Diodes, Transistors, inductors. Put it in the socket, push the button, and there ya go. It does have some limitations. UV LEDs for instance have a high enough forward voltage that it thinks it’s a resistor sometimes. Linear regulators don’t play nice. But if you pull a resistor out and the red looks a LEEETLE orange… or if you just don’t feel like googling what the bands are. It’s way easier to use the transistor tester than to try to balance the Multimeter probes on the resistor leads.
We have another transistor tester, a red one with fewer capabilities, it works a lot the same way. But when Jens Torrel donated this guy I liked it so much, I bought one for myself. If you are just starting out in electronics, there is a different model I recommend. That’s just because it has a bunch of other stuff it can do as you go further into analogue electronics. The QS2515-T4 is perfect for the space because it’s easy to use, tells you what you want to know at the touch of a button, doesn’t take up a lot of space, and frankly, there isn’t really another piece of equipment that does what it does in there. It really is a thing that does the thing.
Make Crazy, Make Safely
JAS